How To Do Victory Rolls: Tutorial For Timeless Hairstyle
Channel classic Hollywood charm with a retro look that exudes sophistication.

Image: iStock
If you find yourself drawn to the allure of vintage aesthetics, then learning to do victory rolls is your ticket to achieving that timeless charm you are after. The iconic hairstyle with its signature swoops and curls captures the essence of retro glamor like no other. Plus, its versatility allows you to wear it for everyday, casual outings as well as special occasions. While the perfectly coiffed hairdo looks beautiful and charming, achieving it may seem like a daunting task. However, we are here to help you with exactly that. In this article, we will walk you through each step of the process, from prepping your hair and mastering the intricate rolling technique to ensuring your do stays in place all day long. So, without further ado, gather your styling tools and get ready to embark on a journey into the world of victory rolls! Read on!
 Before You Get Started
- If you have a round face, aim for higher victory rolls positioned slightly towards the back of your head to create the illusion of greater length.
- For a square face, consider positioning the rolls slightly off-center to add dimension and soften your jawline.
- If you have a diamond face shape, position them slightly towards the sides of your head to add width at the temples.
- If you have long bangs, opt for two rolls behind the bangs and roll up the bangs for a third one.
In This Article
What Is A Victory Roll?
A victory roll is a classic hairstyle that is characterized by distinctive rolled-up sections of hair, often positioned at the front or on the sides of the head. This vintage hair trend was popularized by American women during the 1940s, particularly during World War II.
While the creator of victory rolls is unknown, it is believed that it got its name from the maneuver of fighter planes during the era in which US forces, as part of the Allied powers, emerged victorious. The planes would do a series of rolls in the sky to celebrate a victory, and the hairdo is said to mimic that pattern. When women styled their hair in this special way, it was like a nod to the bravery and excitement of those fighter pilots. This is also why the look is sometimes considered a symbol of women’s strength and resilience during the time of the war. In modern times, it makes for a classic choice for fashionistas and retro fashion enthusiasts alike.
 Trivia
You can achieve this vintage hairstyle by rolling sections of hair inward or outward, depending on your desired look, and securing them to create a smooth, rounded shape. For this, the first step you need to follow is to ensure you are well-equipped with all the tools and products required for it. The following section reveals what they are.
Tools And Products Needed For Victory Rolls
You will need the following tools and products to create the perfect victory rolls for a retro-chic look.
- A paddle hairbrush or wide-tooth comb to get rid of any tangles.
- A tail comb for parting your hair perfectly.
- A teasing comb to volumize your hair.
- A curling iron to add wavy curls to your hair.
- 12-15 bobby pins for securing the victory rolls in place.
- A hair elastic to tie off the hair at the back.
- A strong-hold hair spray to keep your rolls in place all day.
Further, when it comes to voluminous hairstyles, some people also use hair donuts. However, these are not an absolute necessity for victory rolls. Instead of them, you may use a volumizing mousse or hair cream to add some texture to your strands, especially if you have very straight or slippery hair. Alternatively, you may try using a hair dryer to blow dry your hair and add more volume to it. That said, if you struggle with creating perfectly symmetrical victory rolls, try using a hair donut to help shape and support them. Simply roll the hair around the donut and secure it in place with bobby pins for a smooth, flawless finish.
Once you have all these supplies handy, it is time to achieve those stunning, vintage rolls. Scroll down to the next section for a detailed step-by-step process on how to do a victory roll.
A Step-By-Step Process To Do Victory Rolls
Before you start doing these vintage rolls, ensure that your hair is clean. However, avoid washing it on the same day, as the look works best on hair that has some texture and is not freshly washed. Once you have this covered, proceed to the victory rolls tutorial below.
Step 1: Prep And Curl Your Hair

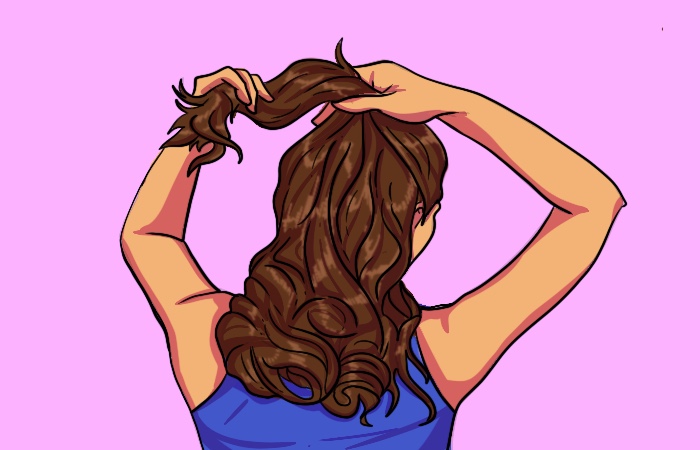
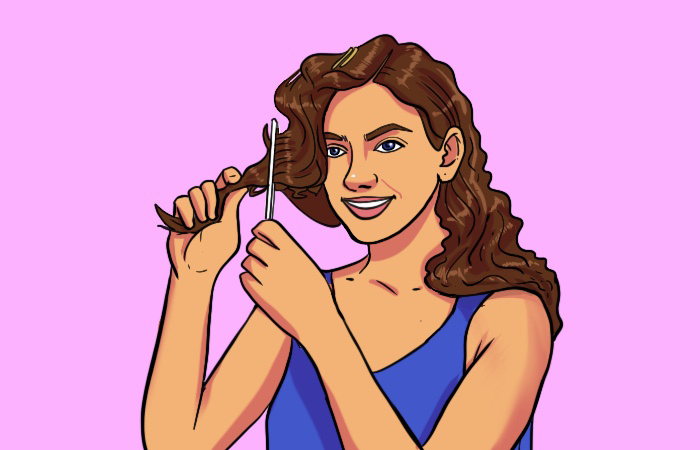
Detangle your hair using a paddle brush or a wide-tooth comb to ensure there are no knots or tangles and spritz on some heat protectant. Then, take about half-inch sections of your hair and use a curling iron to create a loose wave. Repeat until you curl your entire head of hair. These flowy curls will give your hair the bend and texture required to create the perfect victory rolls. Depending on your preference and style, you may even opt for tighter curls instead of loose curls.
Step 2: Divide Your Hair
Once your hair is prepped and curled, use a tail comb to divide it from ear to ear using the crown as a center point. This section will be used to create the victory rolls. You may leave the curly hair at the back as it is or use a hairband to tie it loosely.
Step 3: Part Your Hair
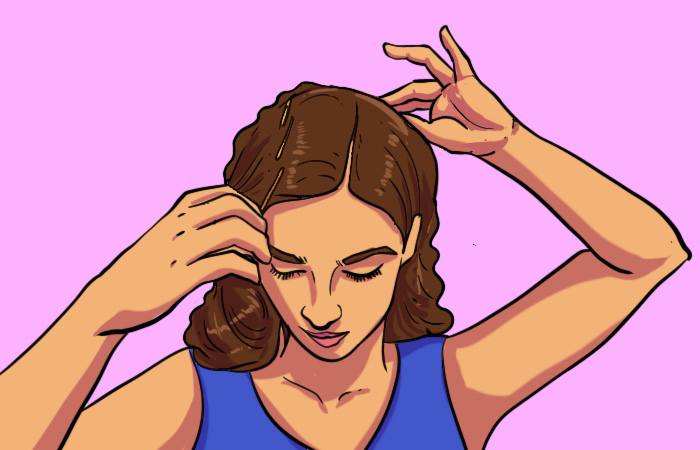
Next, create a side part and divide your hair into two sections, one on each side of your head. Use 3-4 bobby pins to secure the larger portion of hair by pinning it approximately one inch parallel to the parting. This will ensure the hair is secure and simplify the process.
You may also opt for a middle part or a shallow side part, depending on your preference.
Cherry Valons, a blogger, shared that she does not like to do the middle part. She writes in one of her blog posts, “Victory Rolls can be tricky, especially if you are parting your hair down the middle and trying to make them even. I prefer to use a side part. Doing so, you can make one roll larger, and one smaller (i).”
Step 4: Create Volume
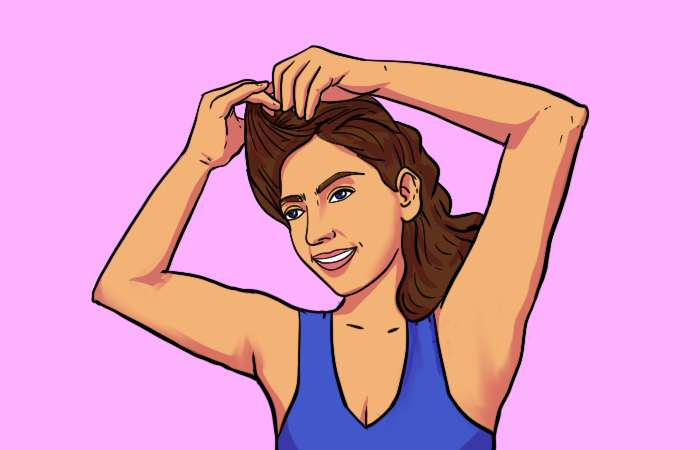
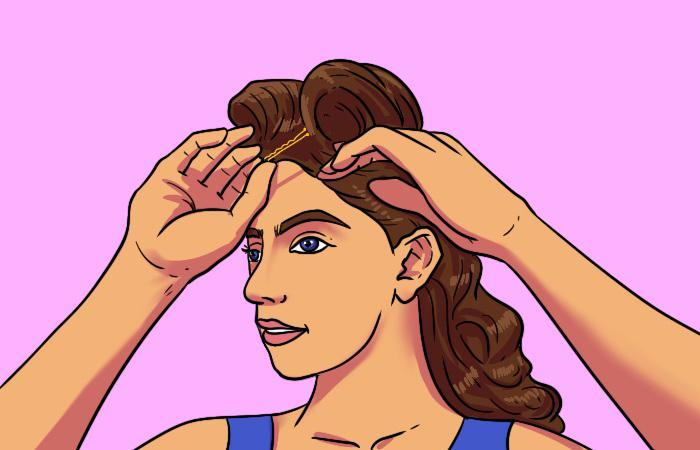
On the pinned side of your section of hair, try backcombing using a teasing comb to create volume. This will help your victory roll stand up and hold its shape. Smooth the surface of the teased section lightly with a comb or brush, so it looks neat on top.
Step 5: Start Rolling
Wrap the teased section around your fingers and start rolling it inwards and towards your parting. As you roll, keep the hair taut to create a smooth, defined shape. Continue rolling until you reach the top of your head and secure it in place with 2-3 bobby pins. Ensure to insert the pins vertically into the roll to anchor it securely.
Step 6: Repeat On The Other Side
Now, add 3-4 bobby pins to the other side of the parting and repeat the backcombing, rolling, and pinning process to create a symmetrical look.
Step 7: Add Finishing Touches
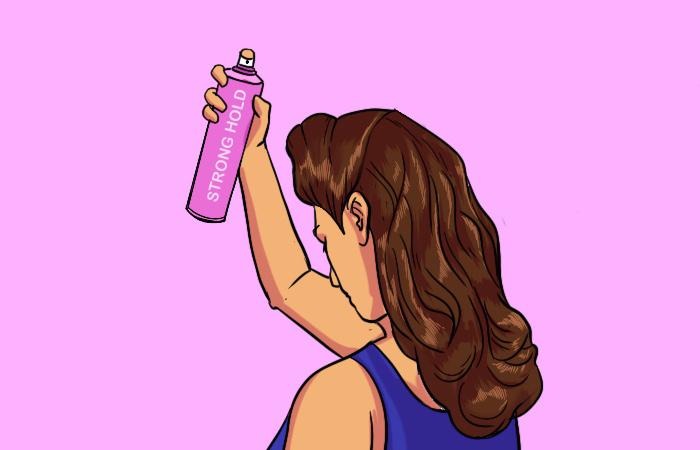
Once both your victory rolls are in place, you can adjust them as needed to ensure they are even and smooth. Then, use a strong hold hairspray to set the style and tame any flyaways. If you have textured hair that holds up styles pretty well, you may even opt for a lighter hold hairspray.
Step 8: The Final Look
And there you have it – the perfect 1940s victory rolls! Take a moment to admire your vintage-inspired hairstyle, and if you like, you may also add accessories such as hair flowers or decorative pins to embellish your look.
 Did you know?
Victory rolls are beautiful when they stay neat and in place throughout the day. However, this requires a bit of effort and some simple tips that are discussed in the following section. Check them out!
How Do You Maintain Victory Rolls Throughout The Day?
Here are some simple tips you may follow to keep your vintage victory rolls looking fabulous all day long.
- Consider using a texturizing spray or light hair mousse before starting with the hairstyle to give your hair more texture and grip.
- After creating your rolls, consider using a hair dryer on the cold setting to help the hair set. However, do so very carefully to prevent your rolls from unraveling.
- While securing the look with bobby pins, you may cross the pins over each other in an X shape for extra security.
- Before you slide bobby pins, it is a good idea to spray a bit of hairspray on them to amplify their holding power.
- If you live in a humid climate, consider using anti-humidity styling products or finishing sprays to help protect your rolls from getting frizzy and losing their shape.
- Avoid touching or playing with your rolls too much to prevent them from coming undone.
- Keep a few extra bobby pins and a travel-sized hairspray handy to touch up your hair, if needed.
- Consider wearing a decorative scarf, headband, or hair net over them for added security and a more vintage style.
Along with these tips, remember that your victory rolls do not have to be perfect to look stylish. In fact, any slight imperfections in your rolls can add character and a vintage flair to them.
So, this is how to do victory rolls. The first step to achieving this iconic hairstyle is to be patient. Like any intricate art form, these rolls demand time and perseverance. You may not get them perfect on your first attempt, but with each try, you will definitely refine your technique and inch closer to perfection. Once you learn how to master the look, do not be afraid to experiment. Try different positions for your rolls, varying the size and shape to suit your personal style. You can also incorporate elements such as a black hair net and trendy embellished hair clips to give your victory rolls a unique twist.
Frequently Asked Questions
Do victory rolls work for all hair types and lengths?
Yes, victory rolls work for almost all hair types and lengths with the right techniques and styling products. While longer hair will provide more volume and flexibility, shorter hair can still achieve smaller victory rolls that look cute and stylish.
How long does it take to create victory rolls?
It may take you anywhere from 15 to 45 minutes or more to create victory rolls. However, the exact time may depend on various factors, such as your hair length, thickness, texture, and skill level. For instance, those with shorter hair may achieve the look in around 15-30 minutes, while individuals with longer hair may find themselves investing nearly 45 minutes or even longer to craft flawless victory rolls.
Can victory rolls be combined with other hairstyles?
Yes, you may combine victory rolls with other hairstyles. For instance, you may integrate braids or twists into your rolls by incorporating small braids into the hair sections before rolling them. This will give the look a bohemian touch. In addition, you can experiment with styling the back of your hair into buns and ponytails. The key is to get creative and personalize the look to suit your unique style and personality.
Key Takeaways
- Victory rolls are a classic hairstyle popularized by American women during the 1940s, particularly during World War II.
- The hairstyle is believed to have derived its name from the maneuvers of fighter planes during that era.
- Perfecting the look requires simple tools such as a curling iron, bobby pins, and a teasing comb, along with a lot of patience and practice.
- You may secure the hairdo with crossed bobby pins or consider wearing a scarf, headband, or hair net over it to maintain it throughout the day.
Victory rolls have experienced revivals over the years and are still admired for their vintage charm and elegance. This video talks about how you can achieve this look on your own. Check it out!
Personal Experience: Source
StyleCraze's articles are interwoven with authentic personal narratives that provide depth and resonance to our content. Below are the sources of the personal accounts referenced in this article.
(i) Valentine’s finesse (this one’s for the ladies!)
https://sugarheartinc.wordpress.com/tag/victory-rolls/


